How to Add a Dashboard Feature
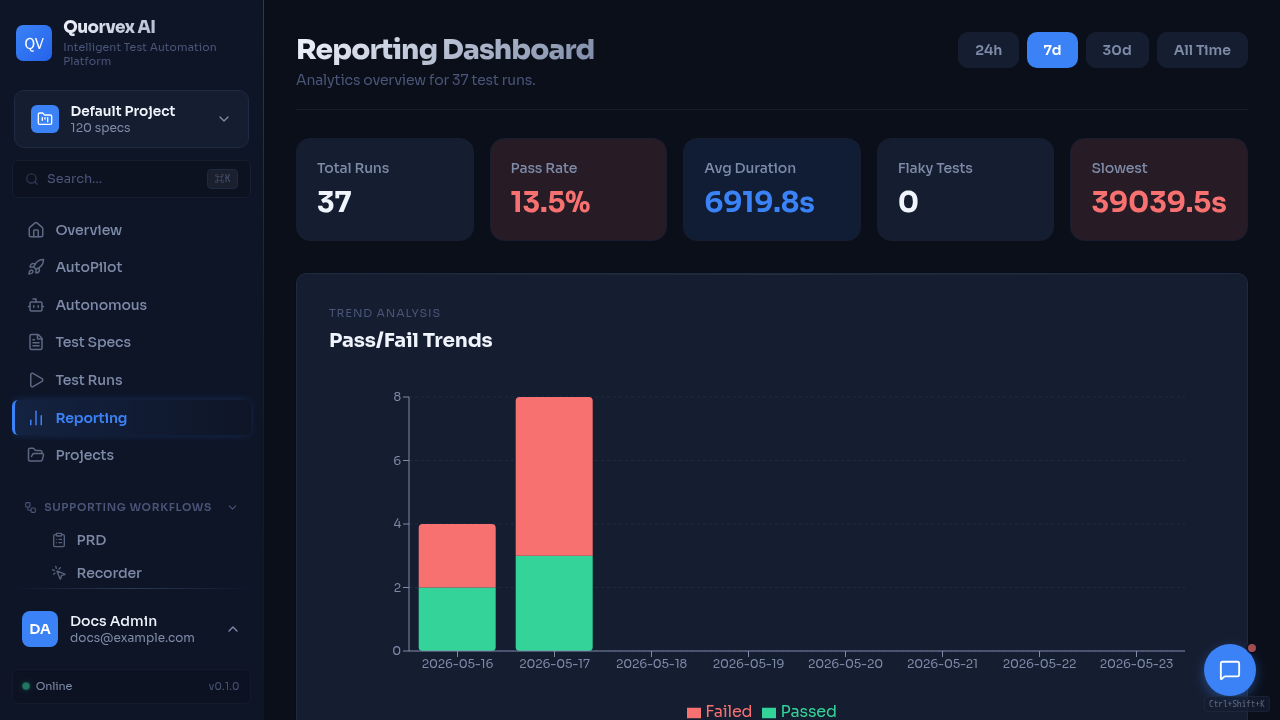
Quorvex dashboard overview for dashboard feature development.
How to add or update a dashboard page without bypassing shared auth, project, API, and navigation patterns.
Prerequisites
- Local development setup is working.
- You know the backend endpoint or service your page will use.
- You have checked Frontend Architecture.
Step 1: Place the Route
Dashboard pages live under the dashboard route group:
Use a client component when the page needs auth context, project context, polling, browser-only APIs, or interactive state.
"use client";

import { useEffect, useState } from "react";
import { fetchWithAuth } from "@/contexts/AuthContext";
import { useProject } from "@/contexts/ProjectContext";
import { apiUrl } from "@/lib/api";
import { PageLayout } from "@/components/ui/page-layout";
import { PageHeader } from "@/components/ui/page-header";
import { EmptyState } from "@/components/ui/empty-state";
import { ListPageSkeleton } from "@/components/ui/page-skeleton";

export default function MyFeaturePage() {
  const { currentProject } = useProject();
  const [items, setItems] = useState<unknown[]>([]);
  const [loading, setLoading] = useState(true);

  useEffect(() => {
    const projectId = currentProject?.id || "default";
    fetchWithAuth(apiUrl(`/my-feature?project_id=${encodeURIComponent(projectId)}`))
      .then((res) => res.json())
      .then((data) => setItems(data.items || []))
      .finally(() => setLoading(false));
  }, [currentProject?.id]);

  if (loading) {
    return <ListPageSkeleton />;
  }

  return (
    <PageLayout>
      <PageHeader title="My Feature" subtitle="Manage project-scoped feature data." />
      {items.length === 0 ? <EmptyState title="No items yet" /> : null}
    </PageLayout>
  );
}
Step 2: Use Shared API Helpers
Browser components should use:
apiUrl()orAPI_BASEfromweb/src/lib/api.tsfetchWithAuth()fromweb/src/contexts/AuthContext.tsx- project context from
web/src/contexts/ProjectContext.tsx
Do not hard-code http://localhost:8001 in dashboard pages. Do not read access tokens directly. Existing pages that still call getAuthHeaders() are legacy. That helper reads localStorage.auth_token, while the current auth runtime keeps the access token in memory and persists the refresh token. New or heavily changed pages must use fetchWithAuth() so token attachment and 401 refresh behavior are consistent.
Step 3: Add Navigation
Choose the right navigation surface for the workflow:
| Surface | Source |
|---|---|
| Sidebar | web/src/components/Sidebar.tsx for repeated, primary workflows |
| Command palette | web/src/components/command-palette/command-data.ts for searchable routes and quick actions |
Some pages are intentionally command-palette-only, and some admin pages are sidebar-only. Use a stable route, a clear label, and search keywords that match how users describe the feature.
Step 4: Handle Loading, Empty, and Error States
Use shared components where possible:
| State | Preferred component |
|---|---|
| Loading list | ListPageSkeleton |
| Loading grid | GridPageSkeleton |
| Empty result | EmptyState |
| Destructive action | ConfirmDialog |
| Status labels | StatusBadge |
| Severity labels | SeverityBadge |
Pages should show project-scoped empty states instead of failing when a new project has no data.
Step 5: Add Polling Only When Needed
Use existing polling hooks for long-running jobs:
web/src/hooks/usePolling.tsweb/src/hooks/useJobPoller.ts- nearby page-specific polling patterns
Polling should stop or slow down when work reaches a terminal state. Avoid unbounded intervals that keep running after the component unmounts.
Step 6: Update Documentation
Update docs when the page is public or changes a documented workflow:
| Change | Documentation |
|---|---|
| New dashboard page | docs/reference/web-dashboard.md |
| New API route | docs/reference/api-endpoints.md |
| New env var | docs/reference/environment-variables.md |
| New operational behavior | relevant guide or explanation page |
| New user workflow | tutorial or how-to guide |
Verification
- Run the dashboard locally with
make dev. - Open the new route directly.
- Switch projects and confirm the page reloads project-scoped data.
- Confirm sidebar and command palette navigation both work.
- Test loading, empty, error, and success states.
- Run
make docs-checkif documentation changed.