App Exploration and Requirements
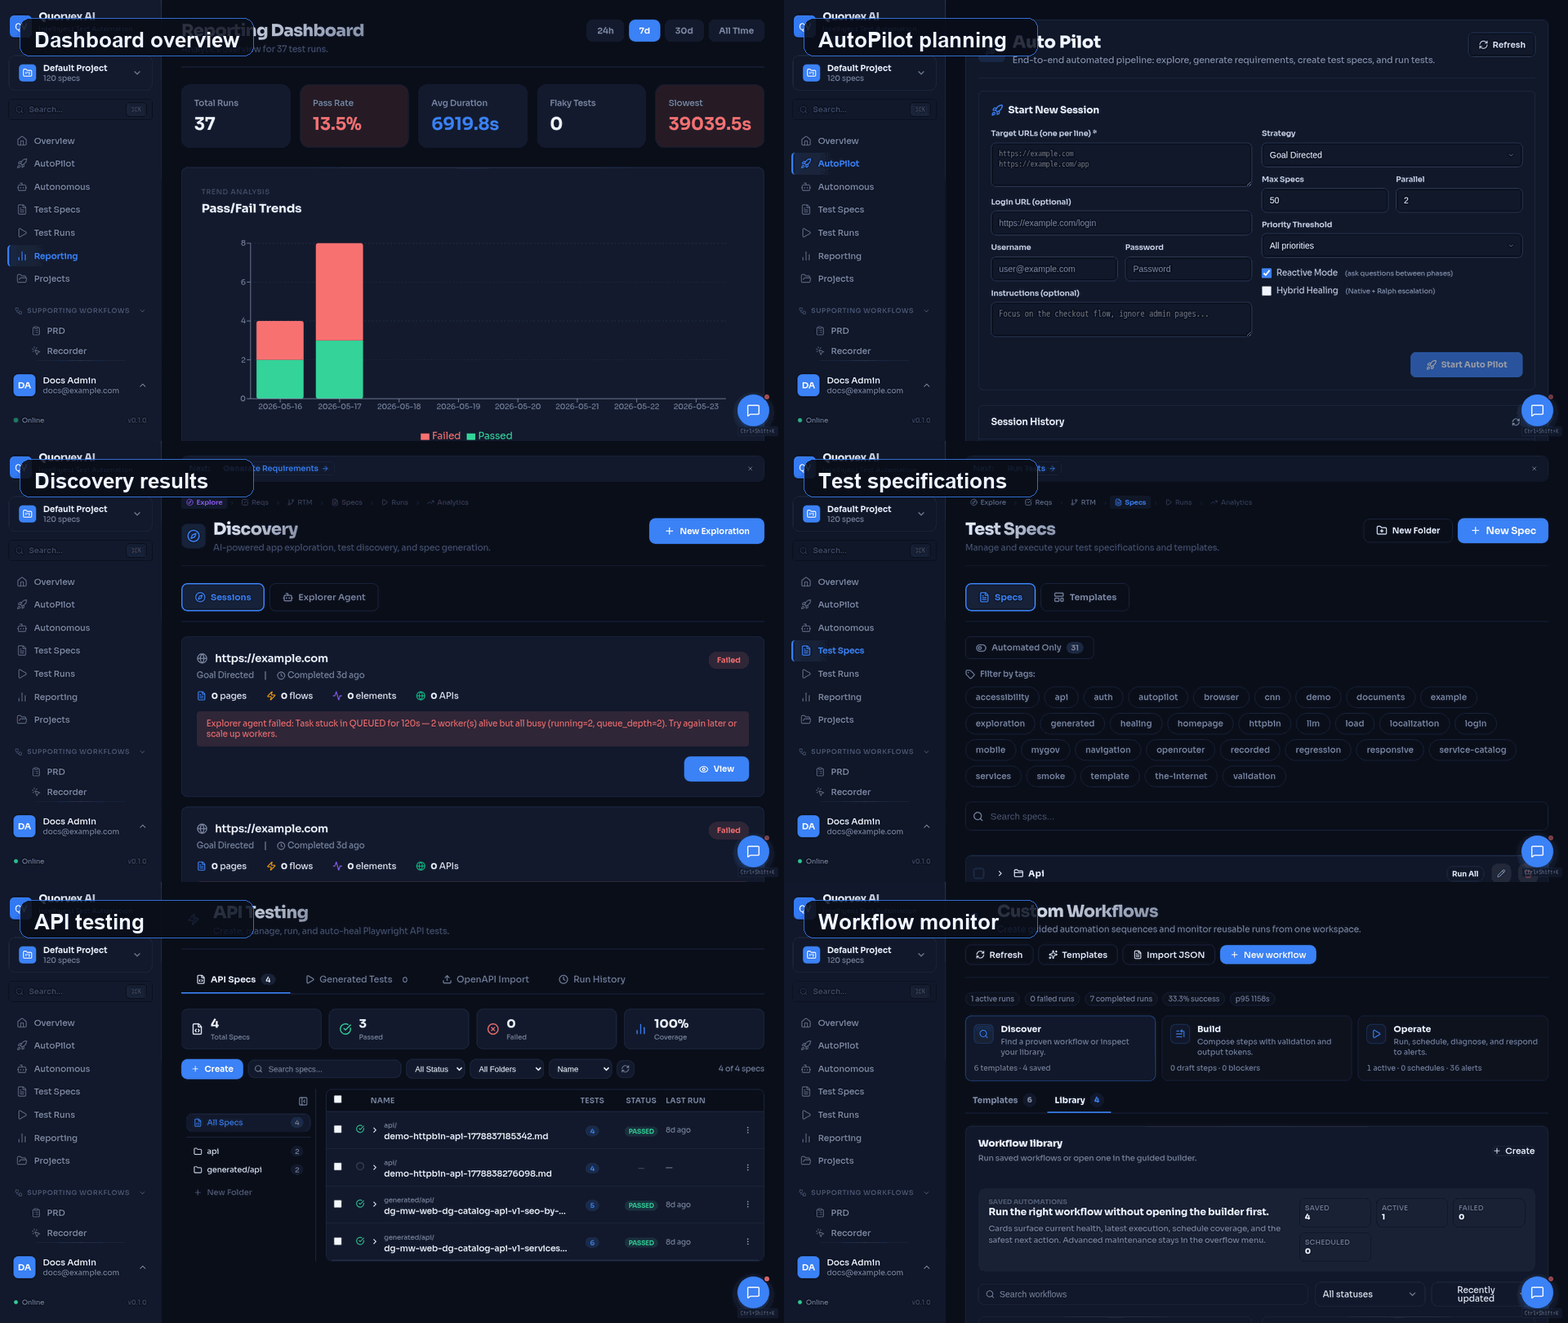
Quorvex UI flow for exploration and requirement discovery.
In this tutorial, you will use Quorvex AI's exploration agent to autonomously discover pages, flows, and endpoints in a web application. Then you will generate structured requirements from those discoveries and build a Requirements Traceability Matrix (RTM).
Prerequisites
- Quorvex AI installed and configured (complete Your First Test in 10 Minutes first)
- The dashboard running (
make dev)
What is AI Exploration?
The exploration agent opens a real browser and interacts with a target web application like a human tester would. It clicks links, fills forms, navigates pages, and records everything it discovers:
| Discovery Type | Examples |
|---|---|
| Pages | URLs, titles, page structure |
| User flows | Login sequences, form submissions, multi-step wizards |
| API endpoints | XHR/fetch calls observed during interactions |
| Elements | Buttons, inputs, dropdowns, navigation items |
| Error states | Validation messages, 404 pages, server errors |
Step 1: Start an Exploration via the Dashboard
Open the dashboard at http://localhost:3000, open the command palette, and choose Discovery (/exploration).
Click New Exploration and fill in:
| Field | Value | Notes |
|---|---|---|
| Entry URL | https://the-internet.herokuapp.com | The target app |
| Exploration Mode | General | Discovers pages, flows, elements, and APIs |
| Thoroughness Level | Quick or Normal | Use Quick for a short trial, Normal for balanced discovery |
Tip
Use API Focused mode when you want richer captured request and response details for API generation.
Click Start Exploration.
Step 2: Watch the Live Log
While the exploration runs, the page shows a live log of the AI agent's actions:
[00:01] Navigating to https://the-internet.herokuapp.com
[00:03] Found 44 links on the page
[00:05] Clicking "A/B Testing" link
[00:07] Page loaded: /abtest - "A/B Test Control"
[00:09] Navigating back to home
[00:10] Clicking "Add/Remove Elements" link
[00:12] Found button "Add Element" - clicking
[00:14] New element appeared: "Delete" button
...
The exploration continues until it reaches the max interactions limit or exhausts discoverable paths.
Note
Each exploration session uses one browser slot from the pool. The default pool size is 5 concurrent browsers. If all slots are occupied, the exploration queues until a slot is available.
Step 3: Review Discoveries
When the exploration completes, the page displays a summary:
- Pages Discovered -- list of URLs with titles and status codes
- User Flows -- multi-step interaction sequences (e.g., "Login flow: navigate to /login, fill username, fill password, click Login, verify /secure")
- API Endpoints -- HTTP requests observed during exploration
- Elements -- interactive elements found on each page
Browse through the discovered pages and flows. Each flow shows the sequence of actions the AI performed and what it observed.
You can approve or reject discovered flows during review. Completed sessions can also generate requirements, API specs, or API tests when enough discovery data is available.
Step 4: Explore via the CLI (Alternative)
You can also run explorations from the command line:
source venv/bin/activate
python orchestrator/cli.py --explore https://the-internet.herokuapp.com --max-interactions 30
Expected output (abbreviated):
=== AI Exploration ===
Target: https://the-internet.herokuapp.com
Strategy: breadth-first
Max interactions: 30

Starting browser session...
[1/30] Navigate to https://the-internet.herokuapp.com
[2/30] Click link "A/B Testing"
[3/30] Record page: /abtest
[4/30] Navigate back
...
[30/30] Max interactions reached

=== Exploration Complete ===
Pages discovered: 18
User flows found: 5
API endpoints: 3
Session ID: abc123-def456
Note the Session ID -- you will need it in the next step.
Step 5: Generate Requirements
Now convert the exploration discoveries into structured requirements.
Via the Dashboard
- Navigate to Requirements in the sidebar.
- Click Generate from Exploration.
- Select the exploration session you just completed.
- Click Generate.
The AI analyzes the exploration data and produces structured requirements:
REQ-001: A/B Test Page Loads Correctly
  Category: Functional
  Priority: Medium
  Acceptance Criteria:
    - Page at /abtest loads with status 200
    - Page displays heading "A/B Test Control"

REQ-002: Add/Remove Elements Functionality
  Category: Functional
  Priority: Medium
  Acceptance Criteria:
    - "Add Element" button adds a "Delete" button to the page
    - "Delete" button removes itself when clicked
    - Multiple elements can be added and removed independently

REQ-003: Login Authentication Flow
  Category: Security
  Priority: High
  Acceptance Criteria:
    - Valid credentials grant access to /secure
    - Invalid credentials display an error message
    - Success message is shown after login
...
Via the CLI
Replace abc123-def456 with your actual session ID from step 4.
Step 6: Review and Edit Requirements
On the Requirements page, you can:
- Edit any requirement to refine its title, category, priority, or acceptance criteria
- Delete irrelevant requirements
- Add new requirements manually using the New Requirement button
- Merge duplicate requirements that describe the same functionality
- Filter by category (Functional, Security, Performance, Usability) or priority (High, Medium, Low)
Tip
The AI generates requirements based on what it discovered. Review them carefully -- you may want to add requirements for features the AI did not reach during exploration, or remove low-value ones.
Step 7: Build the RTM
A Requirements Traceability Matrix (RTM) maps each requirement to the test specs that cover it, showing your test coverage at a glance.
Via the Dashboard
- Navigate to Requirements and click the Traceability tab.
- If this is your first time, click Generate RTM.
- The AI matches each requirement to existing test specs and calculates coverage.
The RTM displays:
| Requirement | Covering Specs | Coverage |
|---|---|---|
| REQ-001: A/B Test Page | ab-test-check.spec.ts | Covered |
| REQ-002: Add/Remove Elements | (none) | Uncovered |
| REQ-003: Login Flow | form-authentication.spec.ts | Covered |
Color coding indicates coverage status:
- Green (Covered) -- at least one passing test covers this requirement
- Yellow (Partial) -- test exists but does not fully cover all acceptance criteria
- Red (Uncovered) -- no test spec maps to this requirement
Via the CLI
Step 8: Fill Coverage Gaps
For uncovered requirements, you can generate test specs directly:
- Click on an uncovered requirement (e.g., REQ-002).
- Click Generate Spec.
- The AI creates a test spec based on the requirement's acceptance criteria.
- Run the generated spec through the pipeline to produce a passing test.
After generating and running tests for uncovered requirements, regenerate the RTM to see your updated coverage.
Step 9: Export the RTM
Export the RTM for reporting or review:
- On the RTM page, click Export.
- Choose a format:
- CSV -- spreadsheet-compatible
- Markdown -- review-friendly document
- HTML -- formatted report
The export includes requirement codes, titles, linked specs, and coverage status.
What You Learned
In this tutorial, you:
- Started an AI exploration session that autonomously discovered an application's pages, flows, and endpoints
- Reviewed the exploration discoveries in the dashboard
- Generated structured requirements from exploration data
- Edited and organized requirements by category and priority
- Built a Requirements Traceability Matrix (RTM) mapping requirements to test specs
- Identified coverage gaps and generated specs to fill them
- Exported the RTM for reporting
Next Steps
- Dashboard Walkthrough -- full tour of all dashboard features
- CI/CD Setup -- automate test runs in your CI pipeline
- Security Testing Guide -- scan discovered endpoints for vulnerabilities
- Load Testing Guide -- performance test discovered API endpoints