Your First Test in 10 Minutes
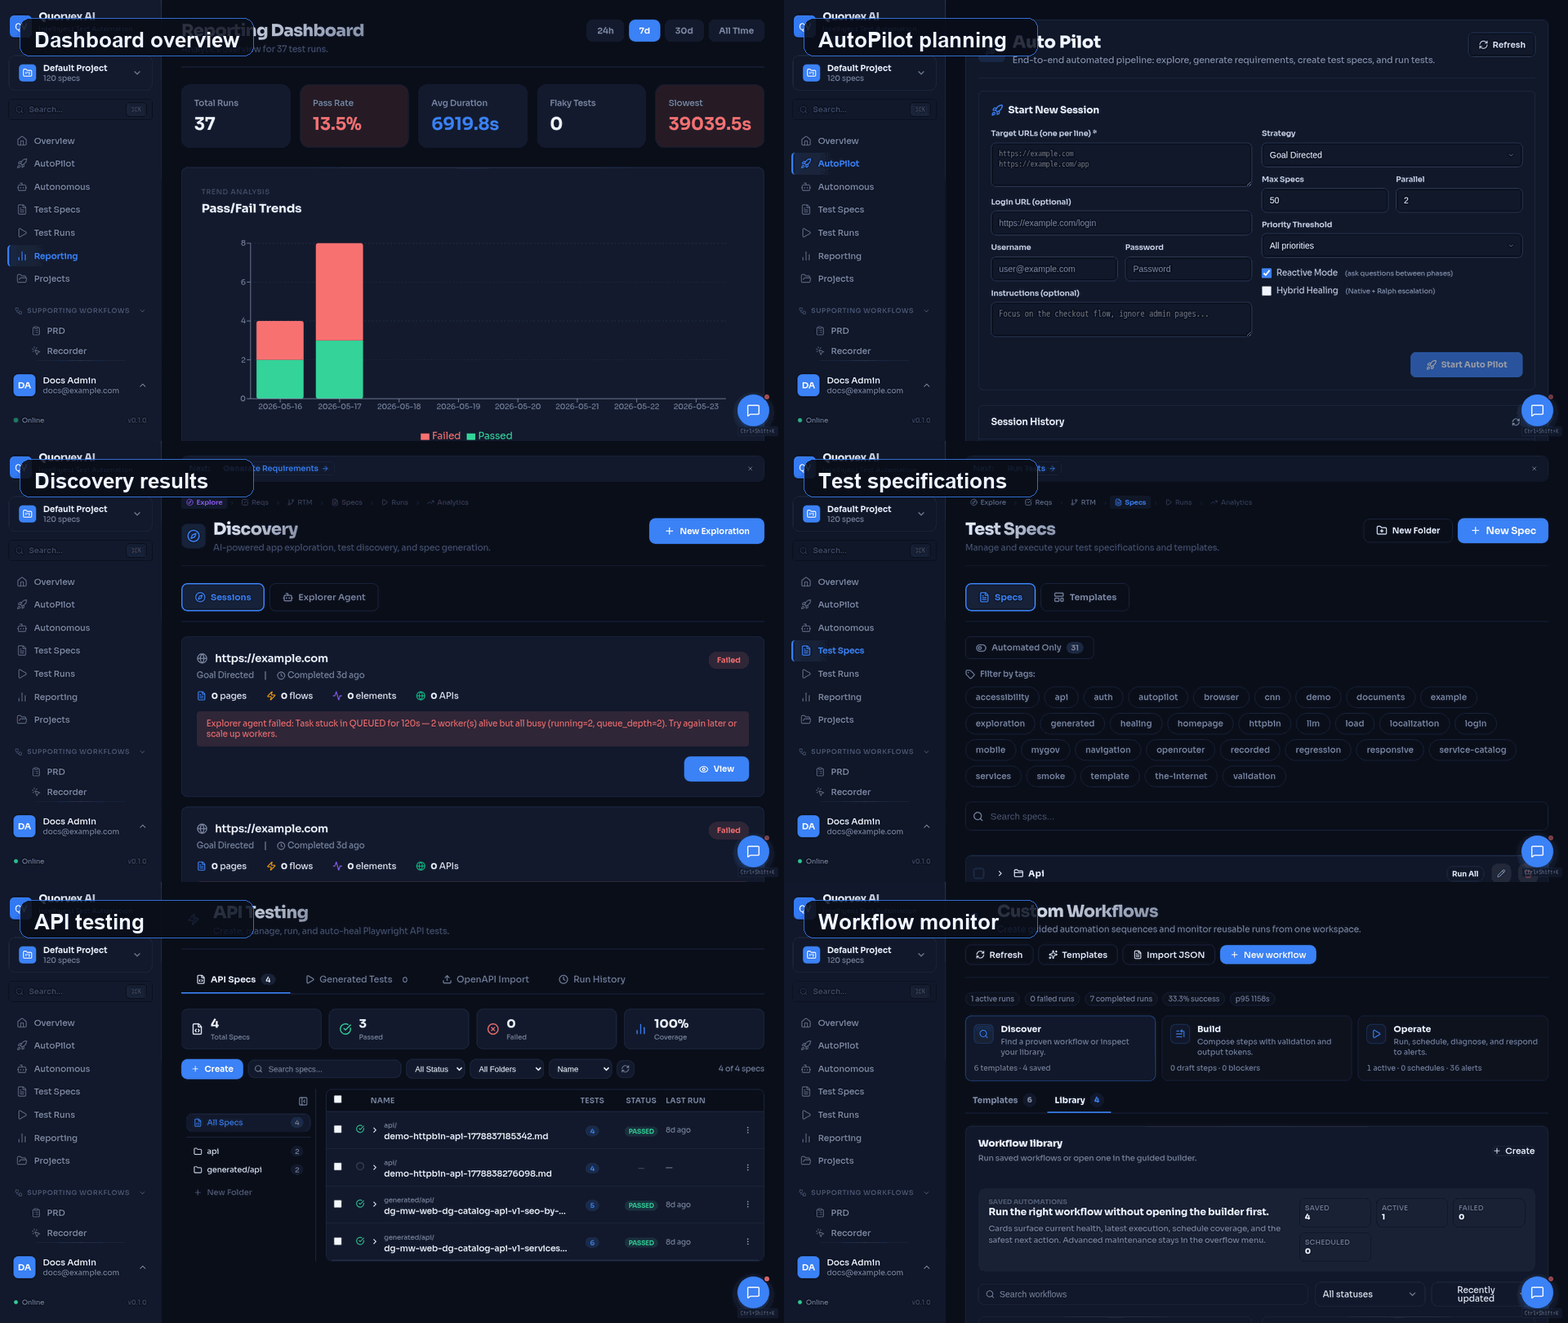
Quorvex UI flow for getting started with the dashboard.
In this tutorial, you will install Quorvex AI, write a test spec in plain English, run it through the AI pipeline, and see a fully generated, passing Playwright test.
Prerequisites
| Tool | Minimum Version | Check Command |
|---|---|---|
| Docker | 20+ | docker --version |
| Docker Compose | 2.x | docker compose version |
| Git | 2.x | git --version |
| Tool | Minimum Version | Check Command |
|---|---|---|
| Python | 3.10+ | python3 --version |
| Node.js | 20+ | node -v |
| npm | (any) | npm -v |
| Git | 2.x | git --version |
Step 1: Clone the Repository
Open a terminal and clone the project:
You should see the project structure:
quorvex_ai/
  orchestrator/     # Python backend
  web/              # Next.js frontend
  specs/            # Test specifications
  tests/generated/  # Output: generated Playwright tests
  Makefile          # All project commands
  ...
Step 2: Install and Start
Copy the production environment file and fill in your API credentials:
Edit .env.prod and set the required AI credentials (see Step 3 below), then start all services:
This starts:
- Backend API on
http://localhost:8001(source mounted; reload disabled in Docker) - Frontend dashboard on
http://localhost:3000 - PostgreSQL database
- Redis for job queuing and rate limiting
- MinIO object storage (console at
http://localhost:9001) - VNC browser view at
http://localhost:6080
Your local ./orchestrator and ./web/src directories are mounted. Frontend changes hot reload automatically.
Tip
Run make check-env after editing .env.prod, then make prod-status after startup to verify the stack.
Run the setup script to install all dependencies, create a virtual environment, download Playwright browsers, and prepare the directory structure:
Expected output (abbreviated):
[1/7] Checking prerequisites...
  + Python 3.12
  + Node.js v20.11.0
  + npm 10.2.4
[2/7] Setting up environment configuration...
[3/7] Setting up Python virtual environment...
[4/7] Installing Python dependencies...
[5/7] Installing root Node.js dependencies...
[6/7] Installing Playwright browsers...
[7/7] Setting up Web Dashboard...
Setup Complete!
Warning
If you see errors about missing prerequisites, install the required tools before continuing. On macOS, use brew install python node. On Ubuntu, use apt install python3 nodejs npm.
Start the dashboard (optional):
Step 3: Configure Your API Key
Quorvex AI uses an AI model to generate tests. Open the environment file for your setup path and add your API credentials:
# Required: AI/LLM configuration
QUORVEX_LLM_PROVIDER=anthropic_compatible
QUORVEX_LLM_API_KEY=your-api-token-here
QUORVEX_LLM_BASE_URL=https://api.z.ai/api/anthropic
QUORVEX_LLM_LIGHT_MODEL=glm-4.5-air
QUORVEX_LLM_STANDARD_MODEL=glm-5-turbo
QUORVEX_LLM_DEEP_MODEL=glm-5.1
QUORVEX_LLM_TOOL_DEEP_MODEL=glm-5.1
QUORVEX_LLM_CHAT_MODEL=glm-5-turbo
API_TIMEOUT_MS=3000000
After editing .env.prod, restart the backend to pick up the change:
# Required: AI/LLM configuration
QUORVEX_LLM_PROVIDER=anthropic_compatible
QUORVEX_LLM_API_KEY=your-api-token-here
QUORVEX_LLM_BASE_URL=https://api.z.ai/api/anthropic
QUORVEX_LLM_LIGHT_MODEL=glm-4.5-air
QUORVEX_LLM_STANDARD_MODEL=glm-5-turbo
QUORVEX_LLM_DEEP_MODEL=glm-5.1
QUORVEX_LLM_TOOL_DEEP_MODEL=glm-5.1
QUORVEX_LLM_CHAT_MODEL=glm-5-turbo
API_TIMEOUT_MS=3000000
Replace your-api-token-here with your actual API token.
Validate your configuration:
Expected output:
Checking environment configuration...

  + .env file exists
  + QUORVEX_LLM_API_KEY is configured
  + QUORVEX_LLM_BASE_URL: https://api.z.ai/api/anthropic
  + Model: glm-5.1
  - OPENAI_API_KEY not set (memory system limited)

  + Python virtual environment exists
  + Frontend dependencies installed
make check-env reads .env and, when present, .env.prod. Docker users should confirm the .env.prod section shows configured production secrets before starting or restarting the stack.
Step 4: Write a Test Spec
A test spec is a markdown file that describes what to test in plain English. Create your first spec:
cat > specs/my-first-test.md << 'EOF'
# Test: Hello World Check

## Description
Verify that the dynamic loading example on the-internet.herokuapp.com works correctly.

## Steps
1. Navigate to https://the-internet.herokuapp.com/dynamic_loading/1
2. Click the "Start" button
3. Wait for the loading to complete
4. Verify the text "Hello World!" is visible

## Expected Outcome
- The "Hello World!" message is displayed after loading completes
EOF
Tip
Every spec needs a URL in the steps (e.g., "Navigate to https://..."). This tells the AI which page to test. See Writing Specs for the full format reference.
The spec format has three required sections:
| Section | Purpose |
|---|---|
# Test: ... | The test name, used for the output filename |
## Steps | Numbered list of actions in plain English |
## Expected Outcome | What success looks like |
Step 5: Run the Pipeline
Run your spec through the AI pipeline:
Or use the CLI directly (local setup only):
The pipeline has three stages:
- Planning -- the AI reads your spec and creates a structured test plan (target URL, steps, assertions).
- Generation -- the AI opens a real browser, explores the target page, and writes Playwright test code.
- Healing -- if the generated test fails, the AI debugs it using browser tools (up to 3 attempts).
You should see the pipeline progress through all three stages and finish with Status: passed. The generated test file is saved to tests/generated/hello-world-check.spec.ts.
Note
The first run takes longer because the AI needs to explore the page. Subsequent runs of the same spec are faster thanks to the Smart Check feature, which reuses existing generated code.
Step 6: Inspect the Generated Test
Open the generated test file to see what the AI produced:
You should see a complete Playwright test similar to:
import { test, expect } from '@playwright/test';

test('Hello World Check', async ({ page }) => {
  // Step 1: Navigate to the dynamic loading page
  await page.goto('https://the-internet.herokuapp.com/dynamic_loading/1');

  // Step 2: Click the Start button
  await page.getByRole('button', { name: 'Start' }).click();

  // Step 3-4: Wait for and verify "Hello World!" text
  await expect(page.getByText('Hello World!')).toBeVisible({ timeout: 30000 });
});
Notice that the AI:
- Used resilient selectors (
getByRole,getByText) instead of brittle CSS selectors - Added an appropriate timeout for the dynamic loading
- Mapped your English steps to real Playwright API calls
Step 7: Run the Test Directly
You can re-run the generated test anytime without going through the pipeline:
Expected output:
Add --headed to watch the browser execute the test visually.
Step 8: Review Pipeline Artifacts
Every pipeline run produces artifacts in the runs/ directory:
plan.json           # Structured test plan from Stage 1
export.json         # Generated code metadata from Stage 2
spec.md             # Copy of your spec
status.txt          # Final result: "passed" or "error"
Inspect plan.json to see the AI's interpretation of your spec -- it contains the target URL, test name, and structured steps.
Step 9: Try a Second Test
Now write a slightly more complex spec:
cat > specs/form-validation-test.md << 'EOF'
# Test: Form Authentication

## Description
Test the login form on the-internet.herokuapp.com with valid credentials.

## Steps
1. Navigate to https://the-internet.herokuapp.com/login
2. Enter "tomsmith" into the Username field
3. Enter "SuperSecretPassword!" into the Password field
4. Click the "Login" button
5. Verify the page displays "You logged into a secure area!"

## Expected Outcome
- The user is redirected to the secure area after login
- A success message is displayed
EOF
Run it:
This test exercises form filling and navigation, demonstrating that the AI handles multi-step interactions.
Step 10: Run All Generated Tests
After generating multiple tests, run them all at once:
This runs every .spec.ts file in the tests/generated/ directory.
Managing Services (Docker)
If you used the Docker setup, these commands help you manage the environment:
| Command | Description |
|---|---|
make dev | Start full Docker development with local code mounting |
make start | Start company/server external-nginx runtime |
make prod-dev | Compatibility alias for make dev |
make prod-restart | Restart backend (picks up code changes) |
make prod-logs | Tail all service logs |
make prod-status | Show status of all services |
make prod-down | Stop all services |
make prod-build | Rebuild Docker images |
What You Learned
In this tutorial, you:
- Installed Quorvex AI using Docker (
make dev) - Configured API credentials in
.env.prod(Docker) or.env(local) - Wrote a test spec in plain English markdown
- Ran the Pipeline to generate a Playwright test
- Inspected the generated test code and pipeline artifacts
- Ran the generated test directly with Playwright
- Created a second test to see multi-step interactions
Next Steps
- Dashboard Walkthrough -- manage specs and runs through the web UI
- Your First API Test -- generate HTTP API tests without a browser
- App Exploration and Requirements -- let AI discover your app automatically
- Writing Specs -- full spec format reference with templates and credentials
- Environment Variables -- configure timeouts, browsers, and more